


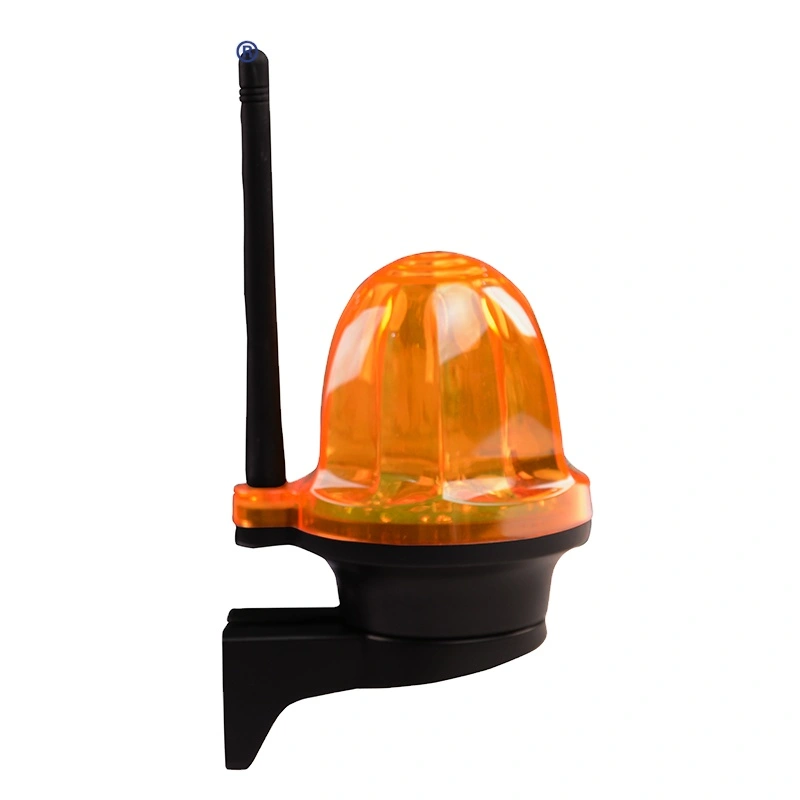
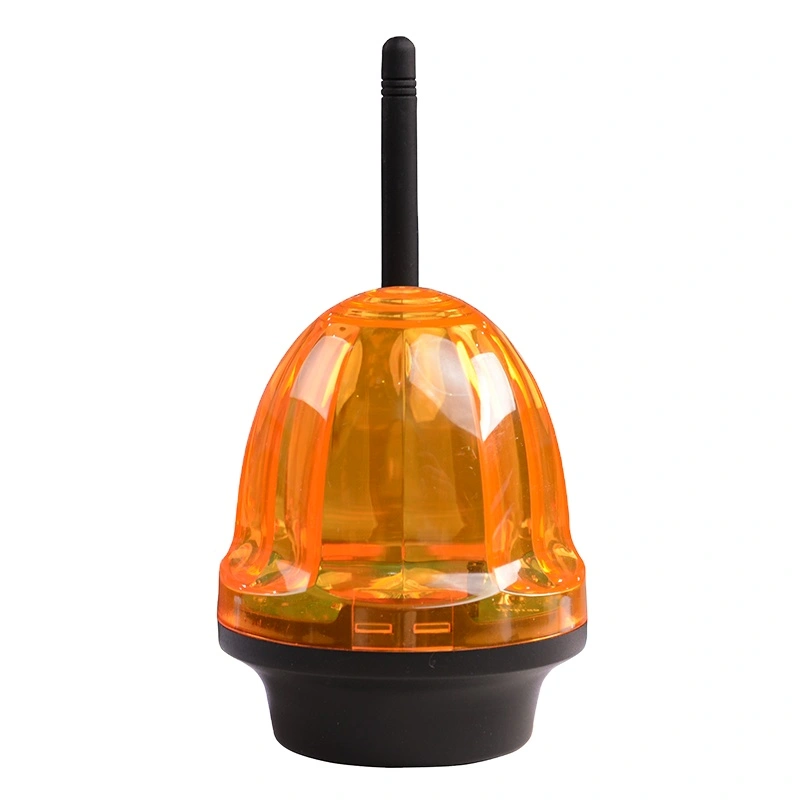
YET6139 Warning Lamp Outdoor LED Alarm Flash Light 220V for Automatic Door
YET6139
minimum order
1 piece
Quantity
- Place of Origin:Guangdong, China
- Brand Name:YET
- Model Number:YET6139
- Item name:LED alarm flash light warning Lamp Outdoor 220V for Automatic Door
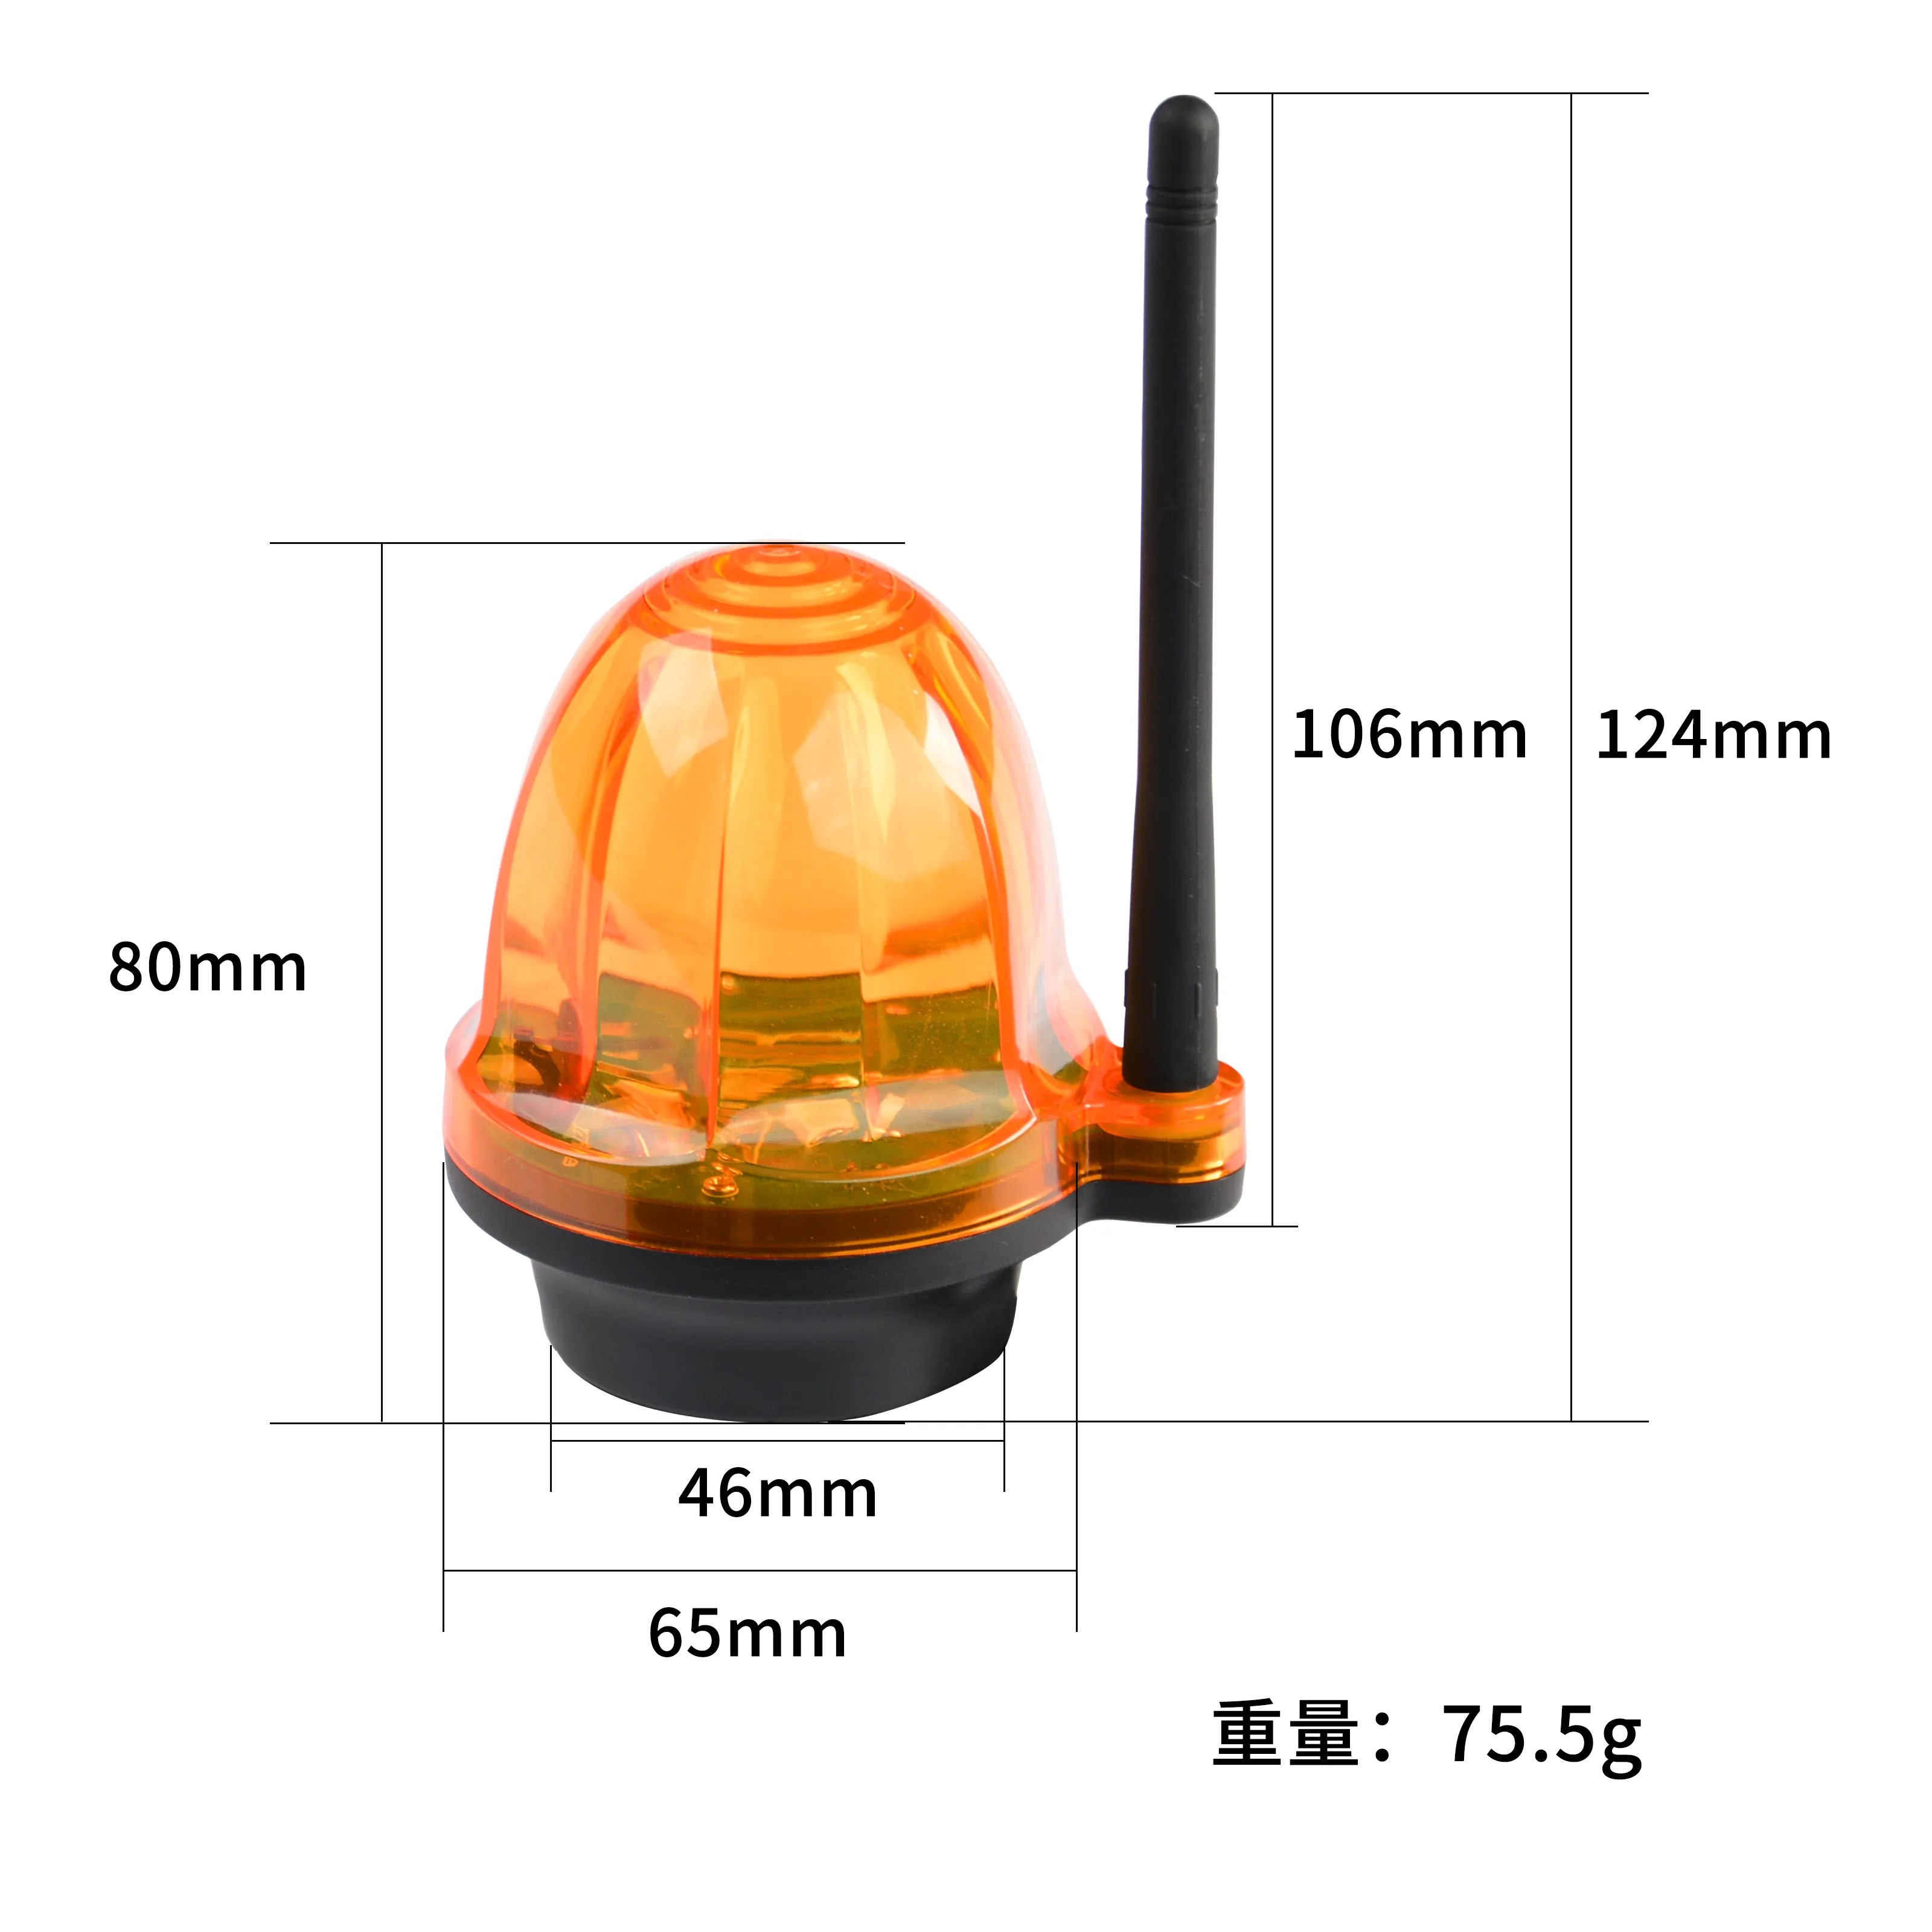
- Size:124*65*80mm
- Working current:<200mA @12VDC
- Operating mode:Bright and flicker(flicker frequency:1HZ)
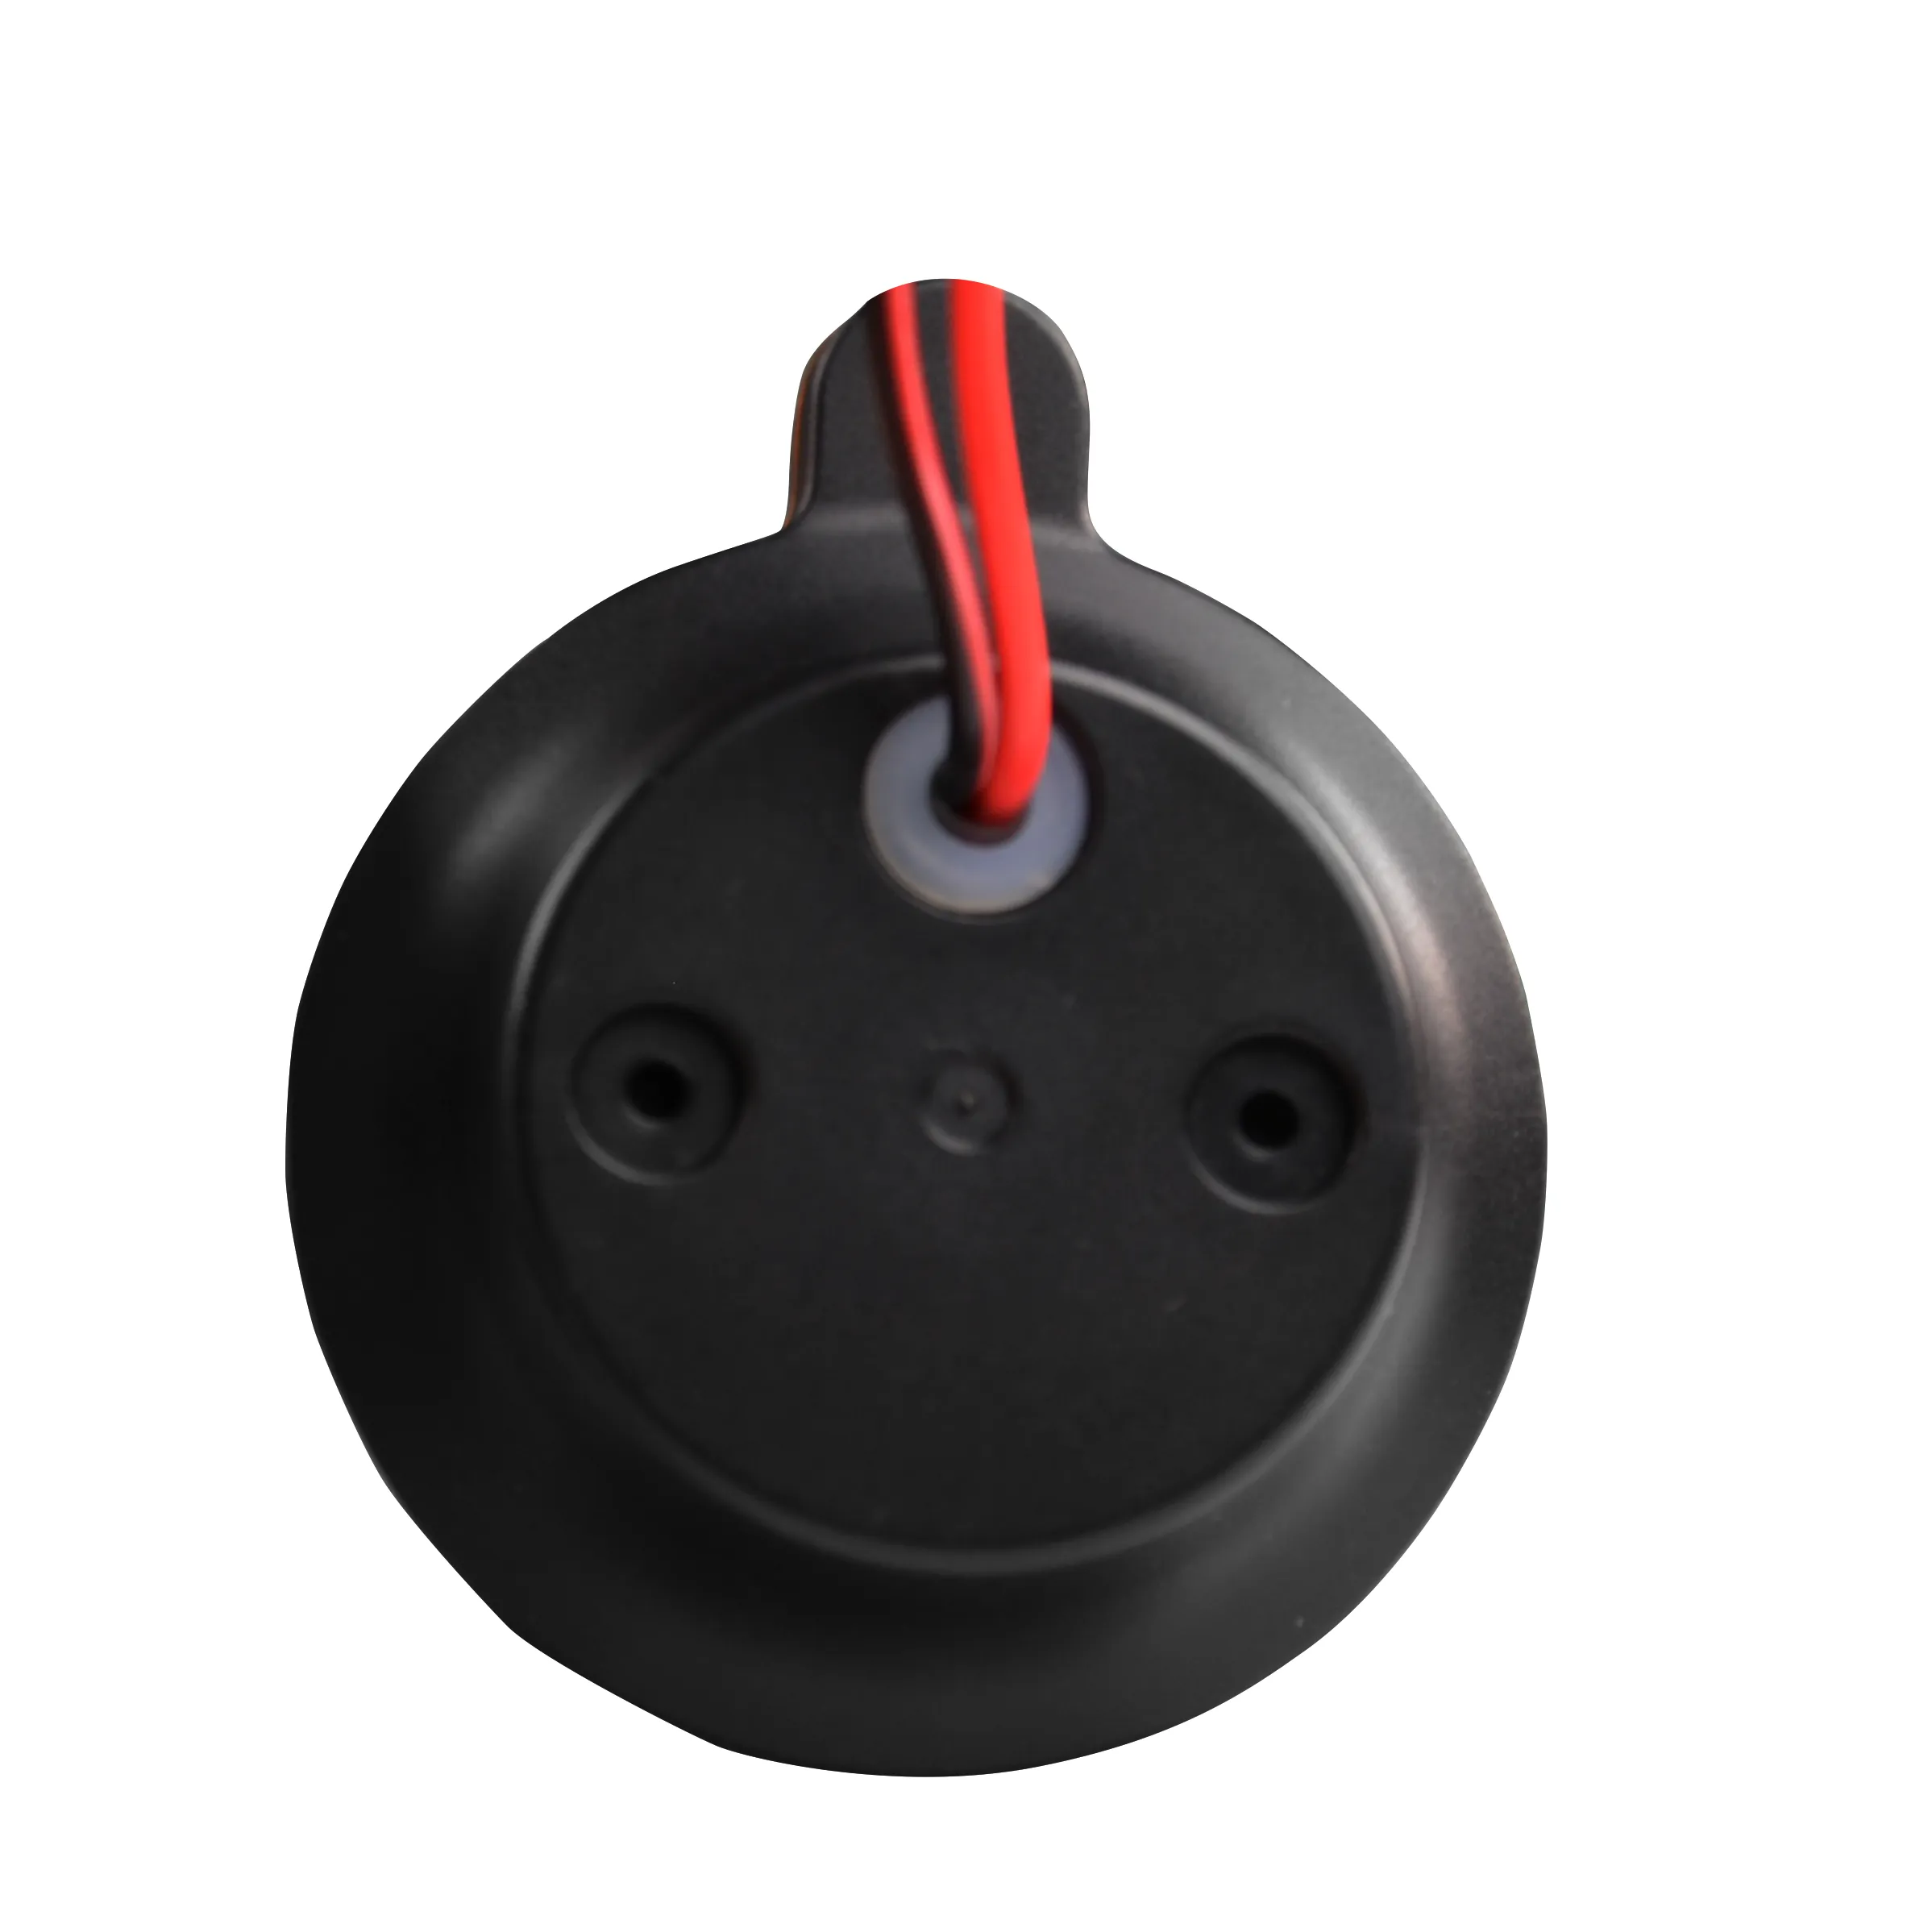
- Interface:1. Power interface,2. Antenna interface
- Voltage:AC/DC 12-220V
- Usage:Indoor or outdoor
- Operating Life:≥1000 hours (standard power supply continuous working)
- Led light:yellow
- Certification:CE
YET6139 LED alarm flash light Warning Lamp Outdoor 220V for Automatic Door
Specifications
Input voltage | DC/AC: 12V~220V |
Working current | <200mA @12VDC |
Intensity | >100Lm 1.5W (3*LED) |
Operating mode | 1. bright, 2. flicker(flicker frequency:1HZ) [This mode is selected by jump cap] |
Interface | 1. Power interface 2. Antenna interface |
Operating temperature | -10℃~60℃ |
Storage temperature | -20℃~70℃ |
Product Weight | 75.5g(without accessories) |
Product standard | 1 flashing light, 2 sets of screws and rubber sleeves, 2 flashing light fixing bracket screws, a manual |
How to install?
1,When wiring the product, you need to unscrew the antenna on the flashing light, and use a screwdriver to
unscrew the screws on the light board, and remove the light board as shown in the figure above;
2,There are two wiring terminals and one jumper terminal on the board:
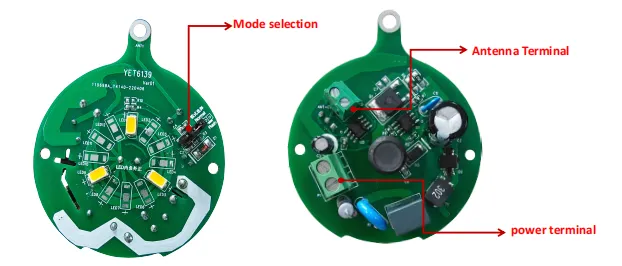
1)Antenna terminal: There is an RF antenna on this product, which is mainly used for the
external antenna configured by the user controller. When in use, connect the antenna interface on the
user controller to the antenna terminal of this product with a wire;
2)Power supply terminal: the interface used to supply power to this product, the power supply
voltage range: DC/AC12~220V;
3)Jumper terminal: used for the selection of always-on mode (NOR) or flashing mode (FL),
change the position of the jumper cap as needed;
3,Pass the power and antenna wires through the sealing plug on the bottom case; tighten the screws
and complete the assembly of the upper case;
4,After completing the above wiring steps, lock the flashing light on the bracket, and then fix the
product to the corresponding place according to the needs of use;
Company Info:


Comprehensive score