How to Install Infrared Sensor for Garage Security?
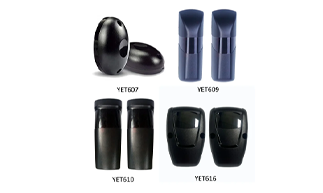
Boost your garage safety with reliable infrared beam sensors
Keeping your garage safe matters more than you think. Automatic garage doors bring great convenience, yet they carry hidden risks for kids, pets, vehicles and belongings when closing. An infrared beam sensor (photocell sensor) creates an invisible safety barrier across your garage doorway, stopping preventable accidents and upgrading your home security effortlessly.
What Is an Infrared Garage Safety Sensor & How It Works
This infrared sensor kit comes with two separate units: a transmitter (TX) and a receiver (RX). The transmitter sends out an invisible 940-nm infrared beam straight toward the receiver unit. When nothing blocks the path, the receiver picks up the full infrared signal, and your garage door can operate normally.
Once people, pets or objects cut off this invisible beam, the receiver instantly sends a trigger signal to your garage door opener. The closing garage door will stop immediately and reverse upward. No physical contact is needed for detection.
Important performance note: Heavy rain, dust or fog may reduce the effective detection range down to 30% of its rated distance. Built to work under fluctuating temperatures, the sensor supports relay output up to 1A max at 36V, with working current: RX 15mA, TX 30mA. Its compact housing measures only 49.2×76×21.6 mm for neat, low profile wall mount installation.
Pre-installation Checklist before You Start
- Disconnect power supply to your garage door opener for safe wiring work.
- Confirm installation distance between transmitter and receiver: no less than 2 meters.
- Recommended mounting height: 20 cm above ground level.
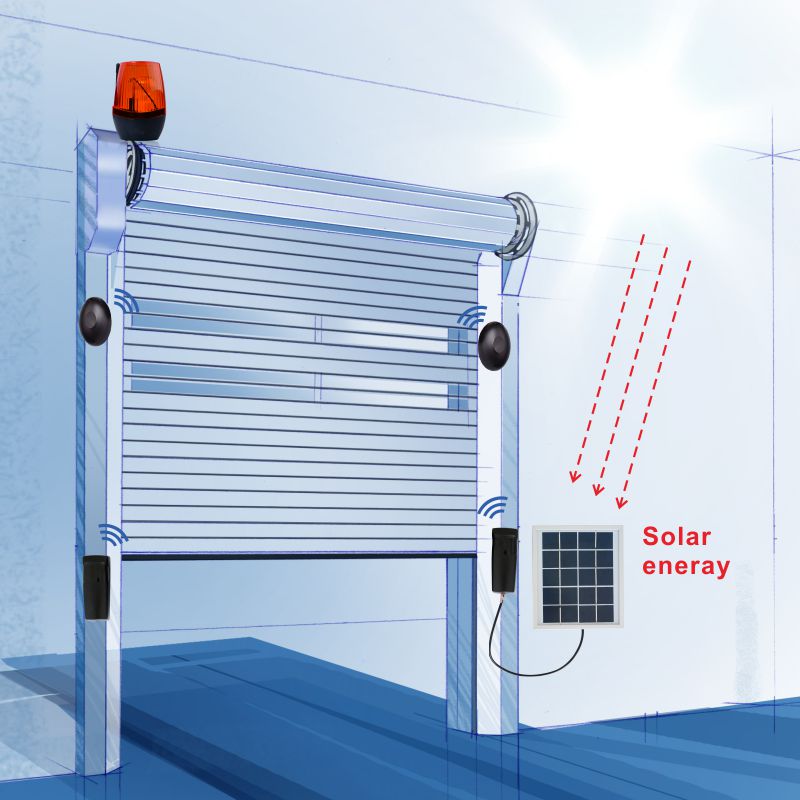
- Avoid direct strong sunlight shining onto the receiver lens; direct sunlight causes false triggering or signal loss. Face the receiver away from the sun for stable performance.
- Make sure there are zero obstacles (branches, debris, decorations) sitting between the two sensor units.
- Use the included mounting template for accurate hole positioning.
Step-by-Step Installation Guide
Step 1: Mark & Drill Mounting Holes
Stick the provided mounting template onto the wall on each side of your garage entrance at your chosen height (20 cm off ground). Drill holes following marks on the template. Fix wall anchors into drilled holes.
Step 2: Secure Transmitter & Receiver
Fasten the TX and RX sensor bodies onto walls with screws. Double-check: transmitter and receiver must face directly toward each other, keep horizontal alignment.
Step 3: Complete Wiring Connection
Run cables from both sensors to your garage door opener control board. Match wiring terminals strictly per product manual. Do not power on before finishing all wiring work.
Step 4: Power-on & Beam Alignment
Restore power to your garage door system. Fine-tune sensor angles slowly until the receiver locks onto steady infrared beam signal.
Pro tip: If sensitivity feels low after installation, you can remove the condenser lens between transmitter and receiver to improve detection intelligence.
Step 5: Full Function Test
Trigger your garage door to close. Wave your hand or place an object across the infrared beam path. If everything works correctly, the garage door will pause closing and reverse right away. Repeat multiple times to confirm stable response.
Key Installation Warnings & Maintenance Tips
- Keep receiver away from direct sunlight to minimize false alarms.
- In bad weather (rain, dust), expect partial reduction of detection range. Do not exceed the maximum rated detecting distance.
- Periodically wipe dust or dirt off sensor lenses; dirty lenses weaken infrared signal performance.
- Do not shake or twist fixed sensors after alignment; small position shift breaks beam matching.
Why Choose Infrared Beam Sensor for Your Garage
Zero-contact safety protection: Protect children, pets and cars from crushing injury
Compact dimension: Small 49.2×76×21.6 mm oval housing, fits most garage surroundings without ugly appearance
Wide compatibility: Works with most automatic garage door and gate opener controllers
Outdoor-ready reliability: Handles variable outdoor temperatures for year-round use
Adding an infrared safety sensor is a small-cost, high-payoff upgrade for every automatic garage door. With correct mounting, wiring and testing, you gain solid safety assurance for your family and property.
YET610 Infrared Beam Sensor – Customer Feedback About Quality & Installation
The D4 Remote Control Copies Global Brands and Simplifies Gate Automation
Related Article